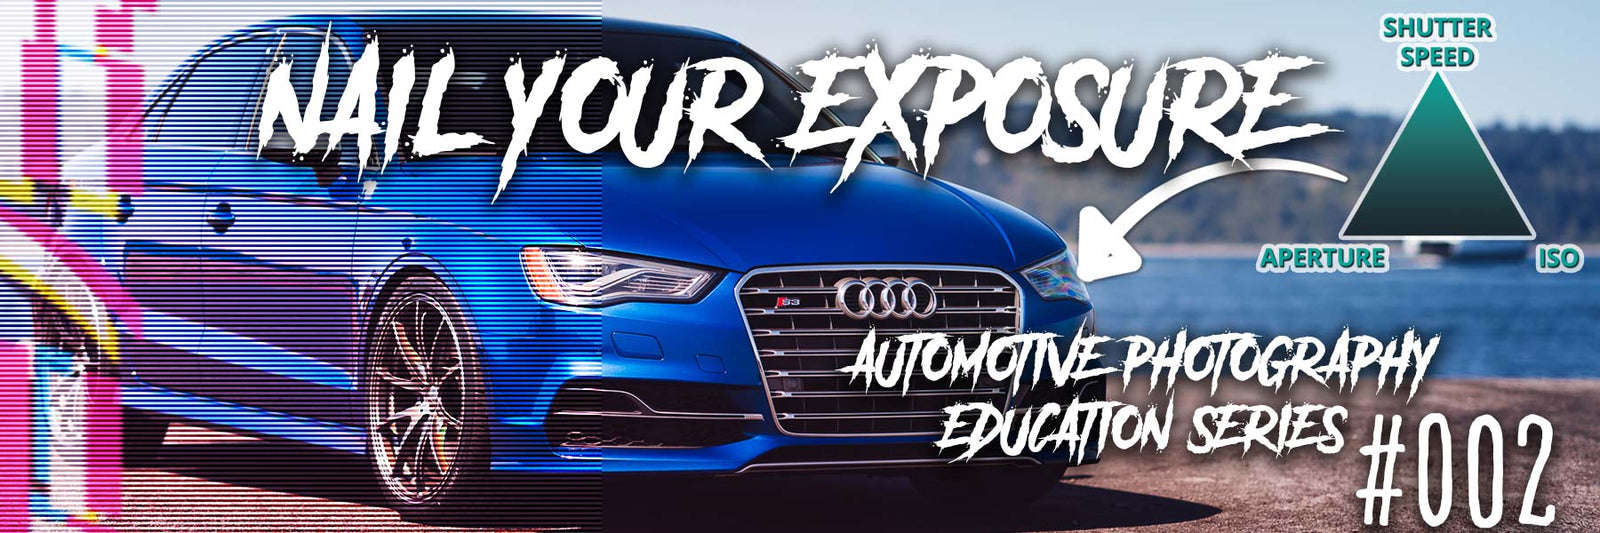

DailyDriven Photography Education Series 002: Camera Basics and the Exposure Triangle
Tripods, Camera Basics, and the Exposure Triangle
Welcome to the Episode 2 of the Daily Driven Photography Education Series, where we'll go over the basic settings of your camera and the exposure triangle. In our last episode, I gave a quick overview of automotive photography as a whole and what you need to get started, but forgot to mention the usefulness of a tripod! Getting a nice, steady tripod will help you take sharp photos, since it'll help you eliminate camera shake and simply give you a very stable platform for your camera. This will definitely come in handy as you learn more about the Exposure Triangle.
Your camera has a sensor, or in the case of a film camera, has film that is exposed to light. That’s where the term “exposure” comes from. Each of your camera’s settings affect the “exposure” of the light to your camera’s sensor or film, and this forms the Exposure Triangle. The Exposure Triangle consists of three basic settings: shutter speed, aperture, and ISO. I’ll teach you how each of these settings all affect the photos you take with your camera.
Shutter Speed
Your shutter speed is simple: it’s how fast your camera exposes its sensor to light, and is measured in fractions of a second and full seconds. A faster shutter speed will help you freeze action, such as animals moving quickly or people playing sports, whereas a slower shutter speed will help you show motion over time, such as stars moving across the sky at night or the light trails of rush hours traffic. It’s important to remember that the shorter the shutter speed, the less light hits the sensor, so if your shutter speed is too fast, your exposure might be too dark (underexposed) or if it’s too slow, your exposure might be too bright (overexposed).
Aperture
Aperture is a little more complicated: your camera’s lens has an aperture, which is used to control the amount of light reaches your sensor. Aperture is measured in f-stops, and these f-stops have to do with how open the iris is on your camera lens. There’s an actual mathematical calculation for this, but that’s not important for our purposes here. The main thing you have to remember is that a lower f-stop (like f/1.4) lets in more light, and we call this "wide open" because the iris is opened as much as possible. On the other hand, a higher f-stop (like f/16) is what we call "stopped down" because the iris is closed as much as possible.
Because of how this works mechanically on the lens, your aperture also affects what’s in focus in your image, or what we call “depth of field.” A shallow depth of field means that you’ll have a certain distance from your camera in focus and the rest not in focus, whereas a wide or deep depth of field means that you’ll have as much as possible in focus. You can get very creative with this, but just remember that each of the extremes can cause problems with either not enough in focus or too much in focus. For example, a very shallow depth of field might only have the grille or headlights of a car in focus and nothing else, but a very deep depth of field might have everything in focus, resulting in not having a clear subject in your photo.
ISO
ISO completes the balance of all three of the main settings of the Exposure Triangle: it’s your sensor’s sensitivity to light. ISO comes from the film world and was often referred to as your “film speed,” and acted similarly with some film being more sensitive to light than others. The lower the ISO, the less sensitive the sensor is to light, and the higher the ISO, the more sensitive. In order for your camera’s sensor to be more sensitive to light, it has to feed more energy to the sensor, and this can result in what we call “noise” in your photo, which often looks like grain and odd, unintended color spots. The lower your ISO, the less noise you’ll have and the higher your ISO, the more noise you’ll have. Generally, you’ll want your ISO to be as low as possible to capture the photo you want, but you can also get creative with this too if you’d like more grain and noise to give your photos some texture.
Putting the Exposure Triangle together
Shutter speed, aperture, and ISO create the Exposure Triangle and each of these combined will result in how your photo looks. Be sure to set your camera to manual mode and play around with each of these. The best way to learn this is by doing, and just experiment with each of these settings until you understand how they all really work together.
That wraps it up for Episode 2. In our next episode, we’ll start to go over choosing a location and a time of day for your automotive photos. Hope to see you in the next one! - Armin
Leave a comment
Comments will be approved before showing up.
Also in Blog
Featured Automotive Photographer 002: Richard Thompson
An Automotive Photography interview and photo gallery showcase of Automotive Photographer, Richard Thompson, RVT3.
Read More
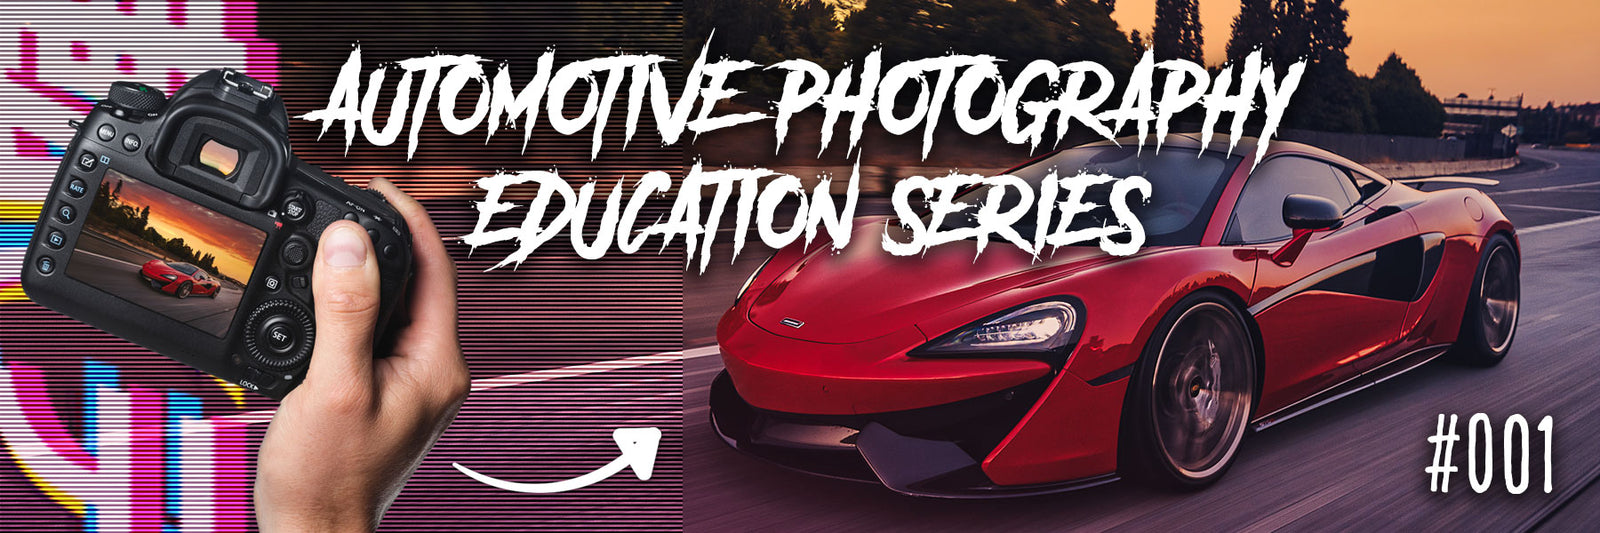

DailyDriven Photography Education Series 001: Introduction to Automotive Photography
In our first Episode of the Daily Driven Photography Education Series, we're introduced to staff photographer Armin Ausejo and he gives us an introduction to automotive photography, as well as how to get started.

Featured Automotive Photographer 001: Armin Ausejo
An Automotive Photography interview and photo gallery showcase of Automotive Photographer, Armin Ausejo from Seattle, WA.
Read More